How to set up RemiBit in your zen cart online store?
zen cart Integration Procedure
1. Module Installation
In order to install the module, it is necessary to access the server where the web files are hosted by ssh. If you don’t know how to do that, please contact your site administrator or your hosting provider.
In this example we will use the default Zen Cart configuration, so the website files are located in /var/www/html/zencart and they are owned by the default user www-data. Please replace [zencart] with the actual name (if different) of your website directory and [www-data] with the owner (if different) of your web files directory.
1.1 Go to the zen cart directory
cd /var/www/html/zencart
1.2 Fetch the RemiBit module
sudo -u www-data wget https://github.com/RemiBit/zencart-remibit/releases/download/v1.01/zencart-remibit.zip
1.3 Uncompress it
sudo -u www-data unzip zencart-remibit.zip
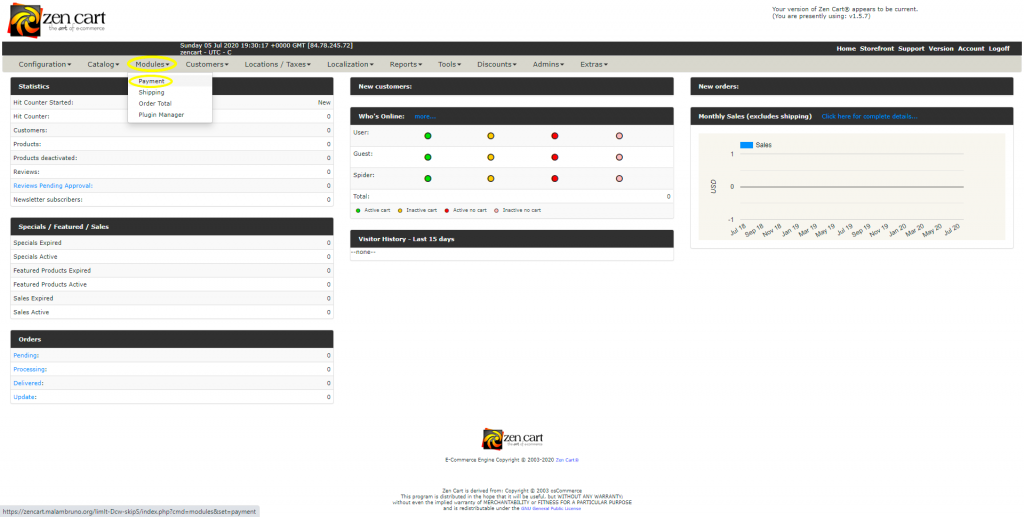
2. Login to your zen cart Admin Dashboard and go to Modules > Payment
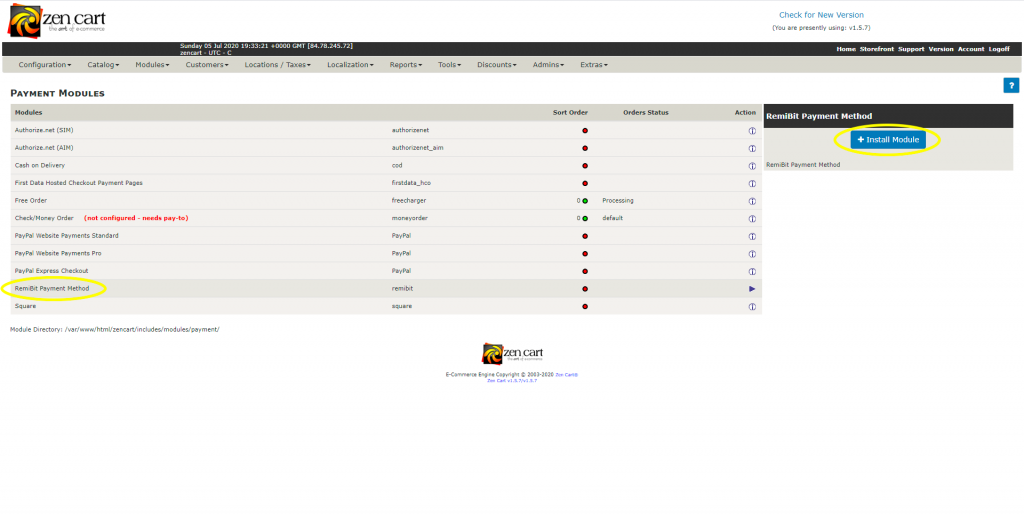
3. Select RemiBit Payment Method from the list and click on the Install Module button:
4. Open another tab in your browser and go to RemiBit Settings Gateway to find the data fields we need to set up now. We need to copy from here to the RemiBit module.
5. Copy the data in Login ID from RemiBit settings and paste it in the Login ID field in the module. Do the same with Transaction Key, Signature Key and MD5 Hash Value. Check Endpoint URL to match the one in RemiBit Settings and check that the module is enabled. Make sure that Enable RemiBit Module is set to True. Click on Update:


6. Congratulations! Your zen cart store now accepts cryptocurrencies with state-of-the-art RemiBit technology!