How to set up RemiBit on your WooCommerce online store?
WooCommerce Integration procedure
To start using RemiBit on your WooCommerce store, please take the following steps:
1. Download the plugin from the RemiBit github
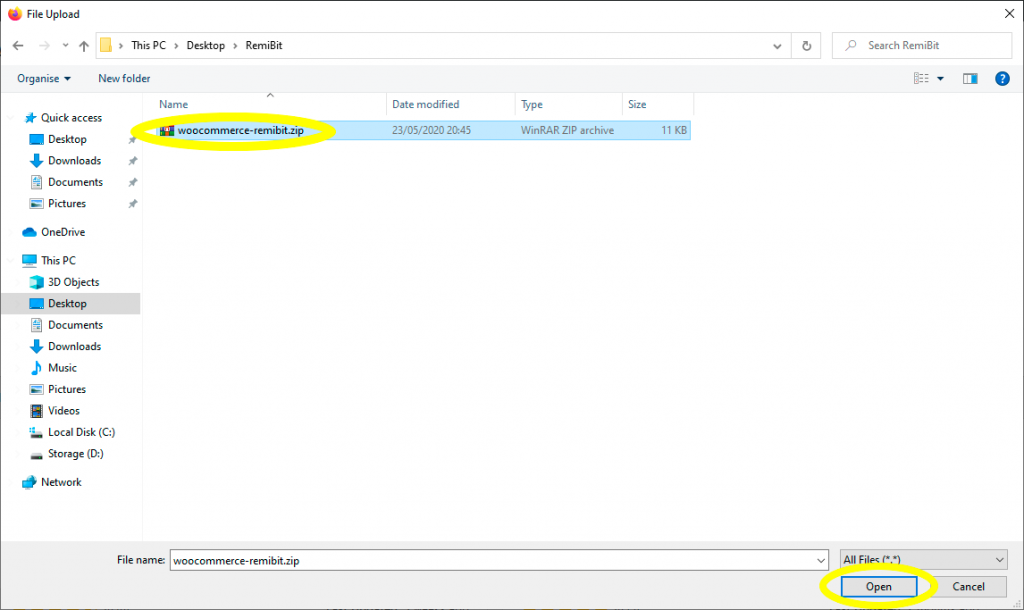
Find the woocommerce-remibit.zip file, right click it and “save link as” in a folder of your choice.
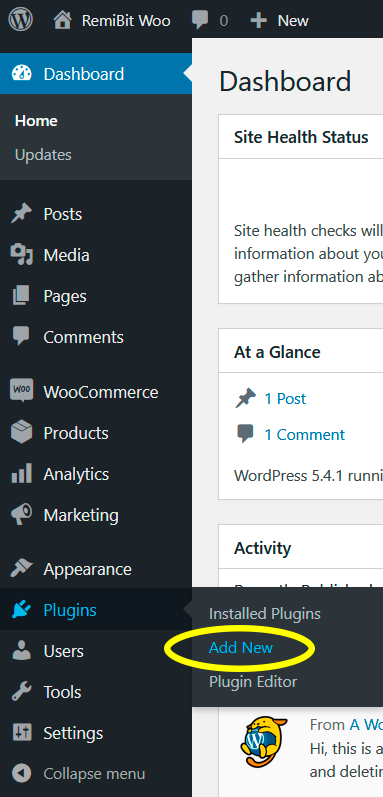
2. Go to your WooCommerce admin panel, hover on Plugins in the left menu bar and click on Add New:
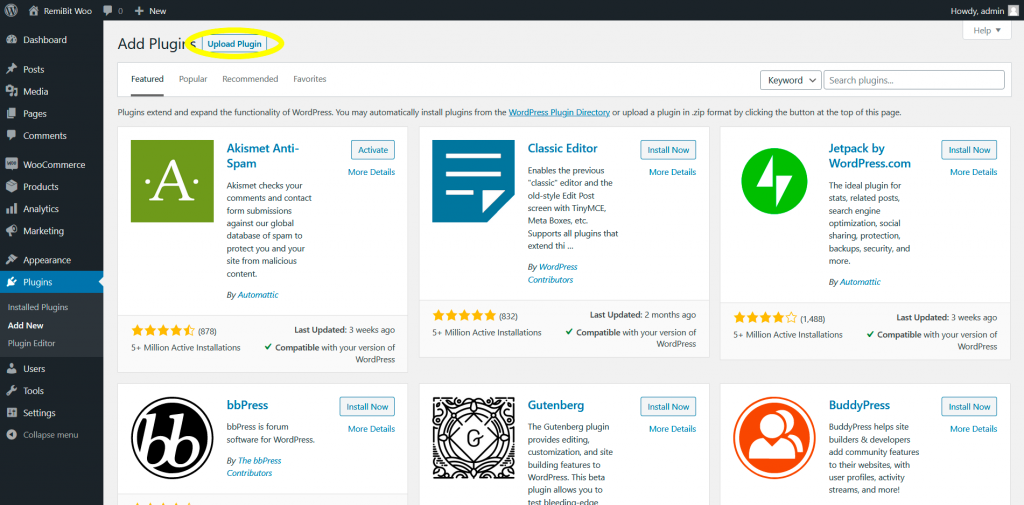
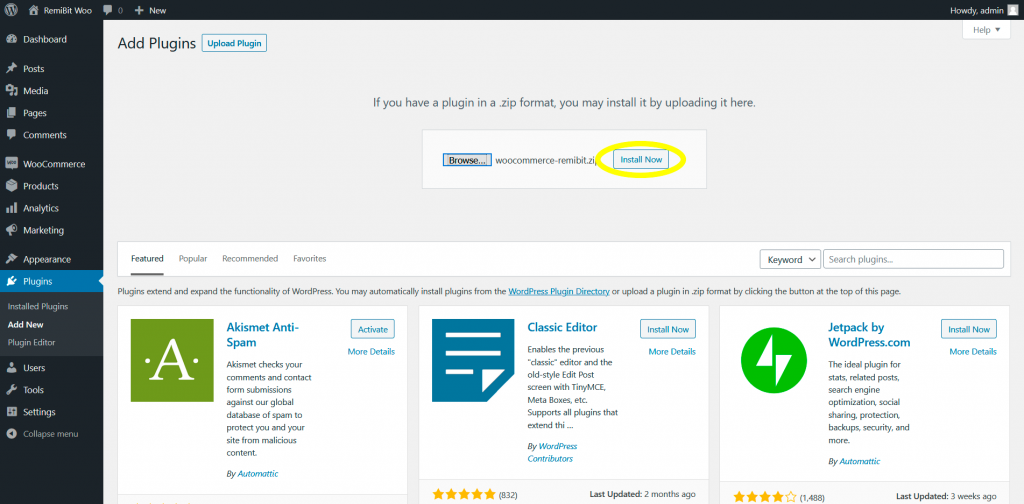
3. Under Add Plugins, click on Upload Plugin:
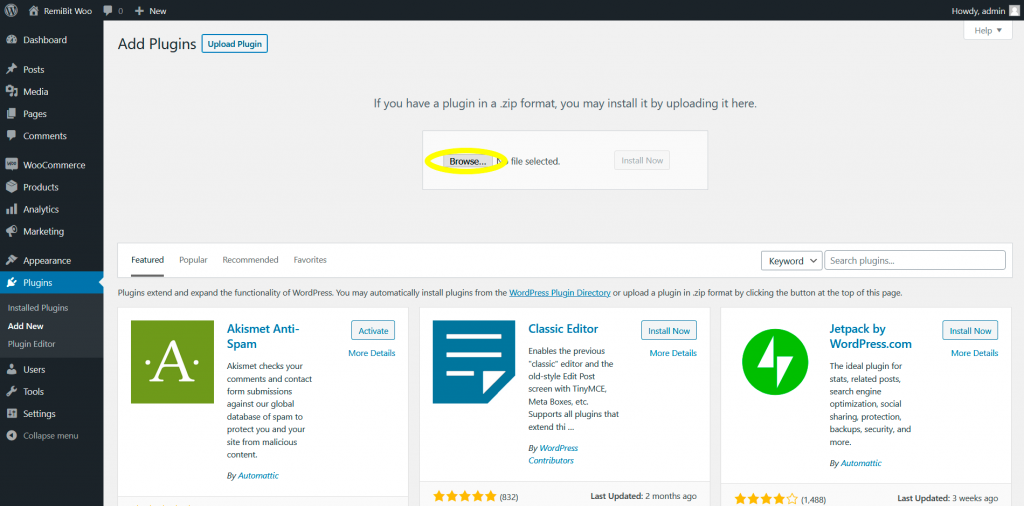
4. Click on Choose File to select the RemiBit plugin:
5. Navigate to the folder where you downloaded the RemiBit plugin:
6. Click on Install Now:
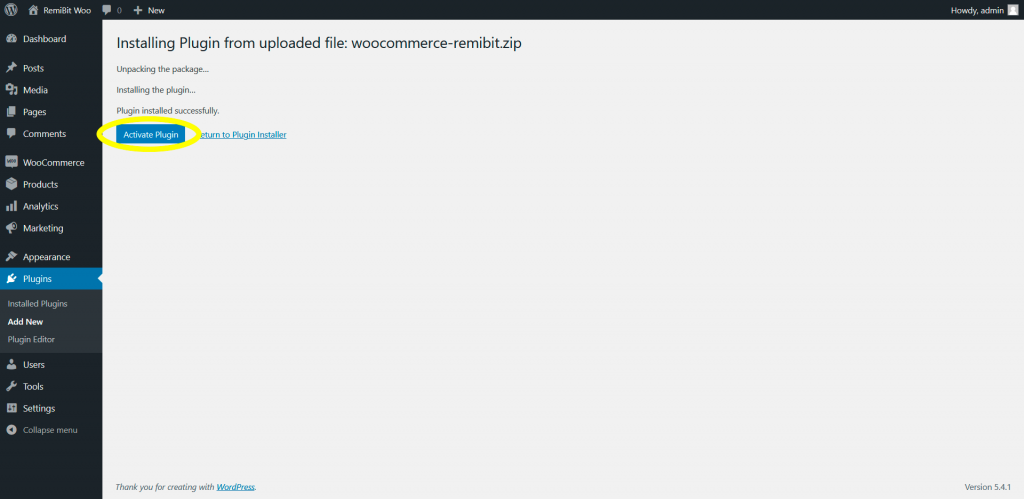
7. The “Plugin installed successfully” message indicates that everything went smooth. Now click on Activate Plugin:
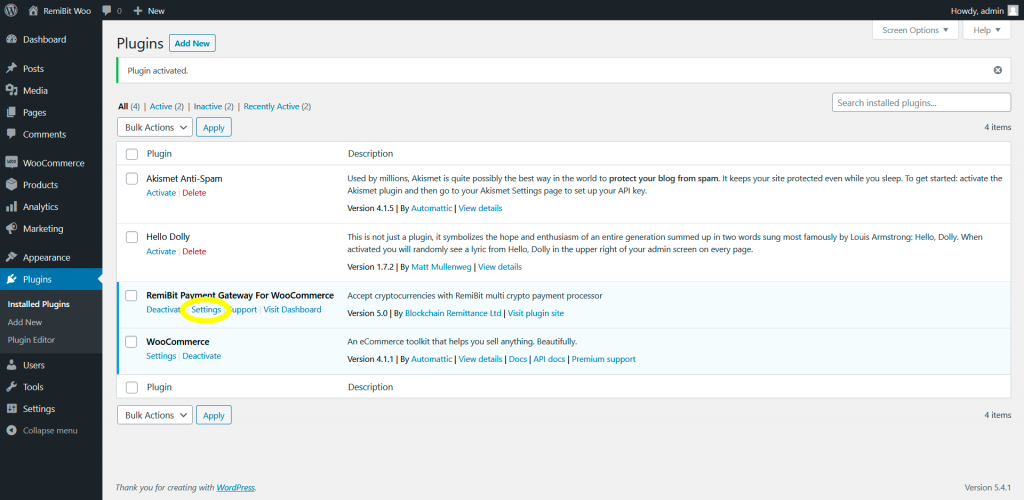
8. Once the plugin is activated, it takes you automatically to the Plugins tab and shows the “Plugin activated” message. Now find RemiBit Payment Gateway for WooCommerce and click on Settings:
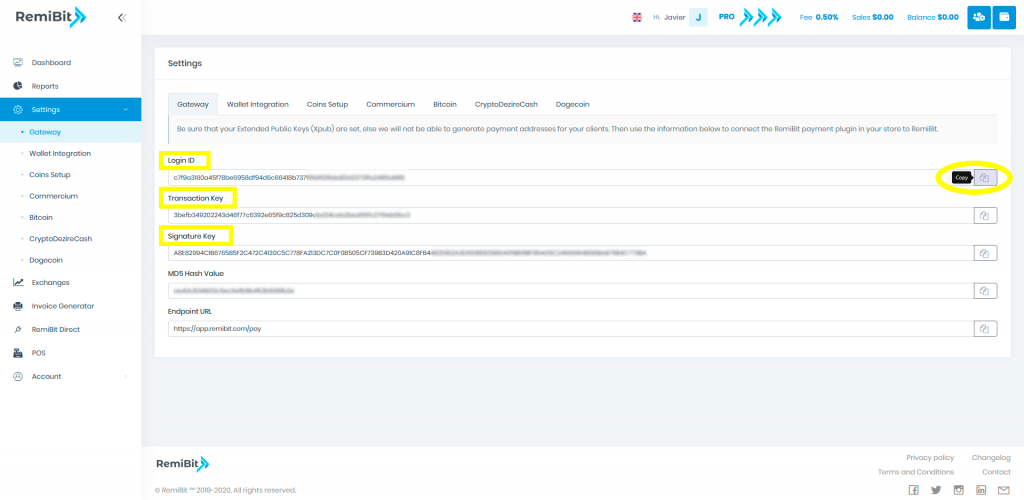
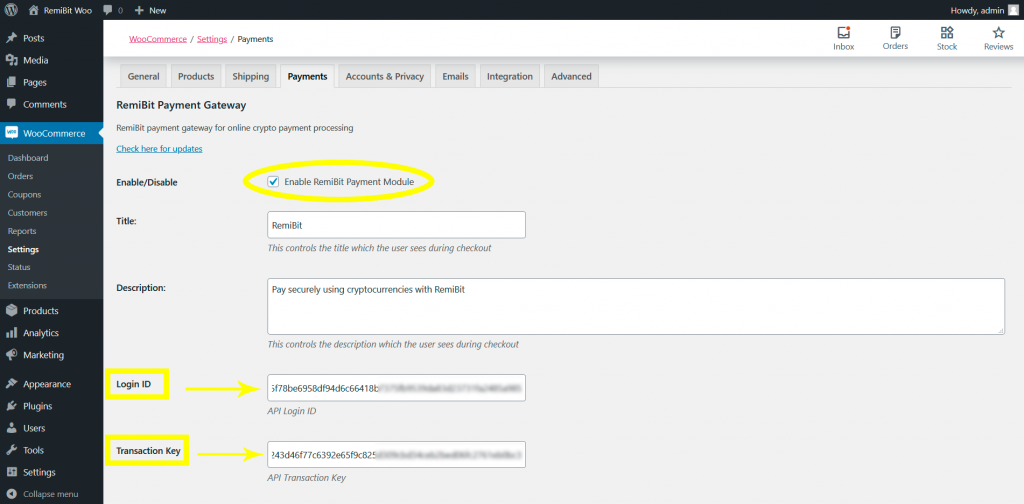
9. Go to RemiBit settings and in the Gateway tab you will find the data fields we need to set up now. Keep it in another tab because we need to copy from there to the RemiBit plugin.
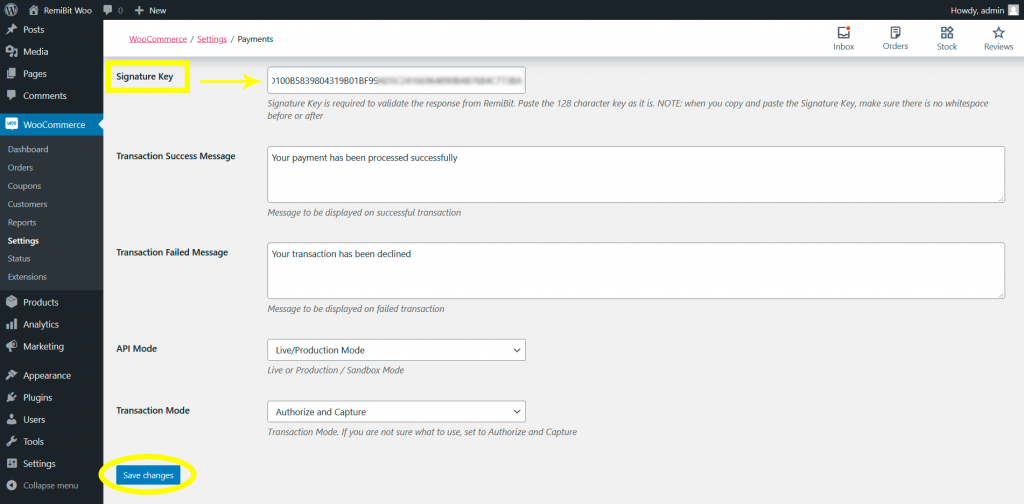
10. Copy the data in Login ID from RemiBit Gateway settings and paste it in the Login ID field in the plugin. Do the same with Transaction Key and Signature Key. When you finish, hit Save changes:
11. You will see the message “Your settings have been saved”.
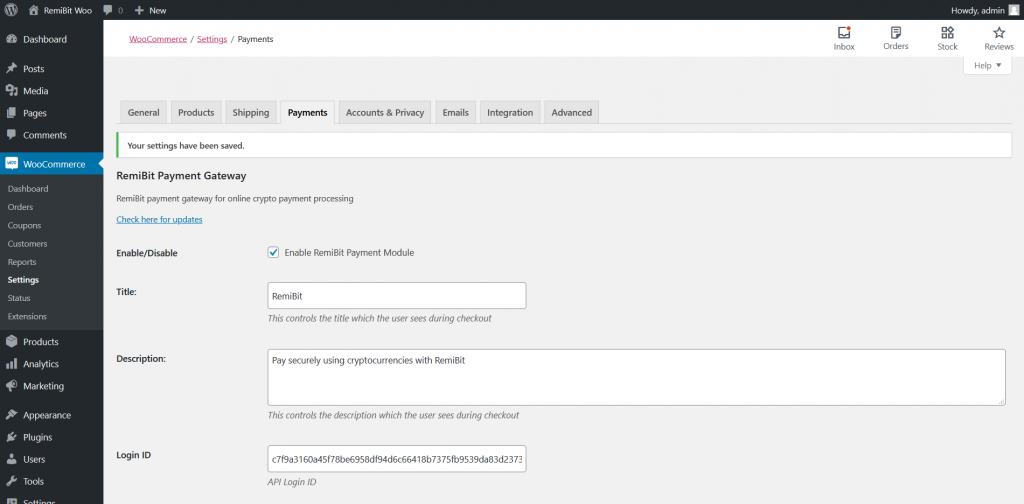
12. Congratulations! Your WooCommerce store now accepts cryptocurrencies with RemiBit state-of-the-art technology!